
How to Add a Payment Method to your Apple ID on Mac ? 5 Easy Ways
Managing your Apple ID payment settings on a Mac is essential for students, professionals, and global users who rely on Apple services for productivity, learning, and entertainment. A verified payment method linked to your Apple ID ensures uninterrupted access to apps, subscriptions, and services such as iCloud+, Apple Music, and the App Store. Updating or adding a payment method not only guarantees seamless transactions but also prevents delays or disruptions when accessing essential digital resources. Whether you are downloading study tools, subscribing to cloud storage, or purchasing apps for work, keeping your payment information current is crucial for a smooth Apple experience.
Why Adding a Payment Method to Your Apple ID Matters
Adding a payment method to your Apple ID is more than a convenience—it is a necessity for uninterrupted access to Apple services. For students and remote learners, a verified payment option allows instant access to educational apps, subscription-based tools, and cloud services that enhance daily study routines. Without an active payment method, users may encounter interruptions when downloading critical apps, subscribing to learning platforms, or accessing premium study materials. Professionals and freelancers also benefit from maintaining updated payment information, ensuring that work-related apps, productivity tools, and collaboration services remain available without delays. Furthermore, for global users, having a compatible payment method enables seamless international purchases, subscriptions, and app downloads, allowing users to access content from different regions efficiently.
Keeping your Apple ID payment information up to date also plays a crucial role in managing recurring subscriptions. Apple services such as Apple Music, Apple TV+, iCloud storage plans, and third-party app subscriptions rely on a valid payment method to renew automatically. If your payment method expires or becomes invalid, these services may be suspended, causing interruptions in productivity, study workflows, or entertainment access. Proactively managing your payment details ensures that you avoid such interruptions and continue enjoying uninterrupted service.
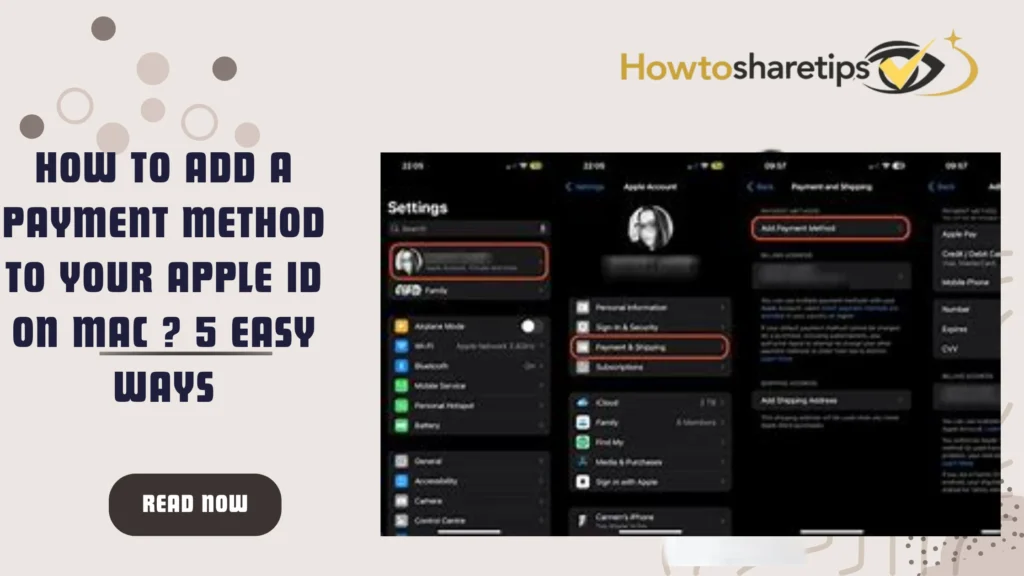
Step-by-Step Guide to Adding a Payment Method on Mac
How to Add a Payment Method to your Apple ID on Mac ? 5 Easy Ways Adding or updating a payment method on a Mac is straightforward but requires attention to detail to avoid errors. Start by launching the App Store application on your Mac. The App Store serves as a central hub for managing your Apple account, accessing apps, and updating payment information. Once the App Store is open, locate your name in the lower-left corner of the window. If your name is not visible, select “Sign In” and enter your Apple ID credentials. Signing in is essential to access all payment and subscription settings and to ensure that purchases, subscriptions, and app downloads remain seamless.
After signing in, click your name again to open a menu, then select “Account Settings.” You may be prompted to enter your Apple ID password for verification. Within the account settings interface, you can manage payment methods, subscriptions, and other Apple services. Locate the “Payment Information” section and click “Manage Payments.” This screen allows you to view current payment methods, add new ones, or update existing details, providing complete control over your Apple ID transactions.
To add a new payment method, select “Add Payment” and carefully enter your payment information. This includes the card number, billing address, expiration date, and security code. Accuracy is critical because any mistakes can cause payment failures. Once all details are entered correctly, click “Done” to save the new payment method. Your Apple ID is now linked to the updated payment option, ensuring uninterrupted access to apps, subscriptions, and services.
Choosing the Right Payment Method for Mac Users
Selecting an appropriate payment method is vital for seamless transactions and reliable access to Apple services. Credit and debit cards, such as Visa, MasterCard, and American Express, remain the most widely used options for direct purchases in the App Store and in-app transactions. PayPal offers an alternative for users who prefer online payments and secure subscription management. Apple Pay provides a fast and convenient payment option that integrates with your Mac for contactless transactions, while in certain regions, carrier billing is available, allowing charges to be added directly to your mobile phone bill.
It is important to ensure that your chosen payment method is supported in your country to avoid failed transactions. Users managing multiple payment methods should prioritize one as the primary option to ensure that Apple automatically charges the preferred account for subscriptions and purchases. Checking Apple’s support page for your region can help verify which payment methods are available and compatible. Global users should also consider currency conversion fees or international transaction charges when linking cards to an Apple ID for purchases outside their home country.
Managing Apple ID Payment Methods via Apple’s Website
In addition to updating payment methods on a Mac, Apple allows users to manage their payment settings online through the Apple ID account page at appleid.apple.com. After signing in, users can select “Payment Information” to add, update, or remove payment methods. This online option is especially convenient for students, professionals, and frequent travelers who may not have immediate access to a Mac. Managing payments online ensures that subscriptions, app downloads, and other Apple services remain uninterrupted regardless of location.
Apple’s website also provides a secure platform to review payment history, verify billing addresses, and manage multiple cards. For users managing family accounts, the online interface allows for streamlined oversight, ensuring that payment methods for shared services such as Family Sharing or Apple One subscriptions are current and valid.
Subscription Management and Payment Tips
Keeping your Apple ID payment information up to date is closely linked to effective subscription management. Recurring payments for iCloud+, Apple Music, Apple TV+, and third-party apps rely on valid payment methods. To prevent subscription lapses, verify that the billing address matches the one registered with your card or payment provider. Users should also review subscription schedules to anticipate renewals, which helps prevent unexpected charges or service disruptions.
For students and professionals managing multiple accounts or services, it is helpful to maintain a primary payment method for essential subscriptions while keeping backup options for flexibility. Apple allows the removal of outdated payment methods once a new one is verified, simplifying account management and preventing accidental charges. Regularly reviewing and updating your payment methods also helps detect unauthorized activity early, adding an extra layer of security for sensitive financial information.
Troubleshooting Common Payment Issues
Even with careful management, users may encounter payment issues on their Mac. Common problems include expired cards, mismatched billing addresses, unsupported card types, or insufficient funds. If a payment fails, Apple may temporarily suspend app downloads or subscriptions. Users can resolve these issues by verifying the card details, ensuring the billing address matches the bank’s records, or linking an alternative payment method.
For international users, it is important to confirm that the selected card supports cross-border transactions. Currency differences and international processing fees can sometimes lead to failed payments, particularly with debit cards. Apple provides guidance for troubleshooting payment errors, including updating regional settings, contacting the bank, or switching to a supported payment method such as Apple Pay or PayPal.
Security Best Practices for Apple ID Payments
Security is a critical component when managing Apple ID payment methods. Users should create strong, unique passwords and enable two-factor authentication to prevent unauthorized access. Regularly monitoring account activity allows users to detect suspicious transactions early. For students and professionals who rely heavily on Apple services, enabling notifications for payments and subscription renewals helps maintain awareness of ongoing charges.
Additionally, sensitive financial information such as credit card numbers should never be shared. When using Apple Pay, the platform generates a secure token for each transaction, reducing the risk of exposing card details. Users can also remove old or inactive payment methods to reduce exposure and minimize security risks.
Regional Considerations for Global Users
Apple ID payment methods vary by region, and global users should be aware of the differences in supported cards, PayPal availability, carrier billing options, and Apple Pay compatibility. Students studying abroad or professionals traveling internationally may need to add a payment method from their home country or use a globally supported option to avoid interruptions. Checking Apple’s support documentation for regional restrictions can help prevent failed transactions and ensure seamless access to subscriptions and apps worldwide.
Conclusion: Ensure a Seamless Apple Experience
Adding or updating a payment method on your Apple ID via Mac is a simple yet essential step for ensuring uninterrupted access to apps, subscriptions, and Apple services. By carefully following the step-by-step process, users can maintain a smooth workflow for study, work, and entertainment. Choosing the right payment method, keeping billing information accurate, and monitoring subscription schedules ensures that services remain available at all times. Implementing security best practices further protects sensitive financial data and enhances the overall Apple experience.
Students, professionals, and global users can benefit significantly from proactive payment management, ensuring that learning tools, productivity apps, and entertainment platforms are always accessible. By securing your Apple ID payment information today, you guarantee a faster, safer, and more reliable experience with Apple services on your Mac.
Read Also: How to Cut a Mango.

