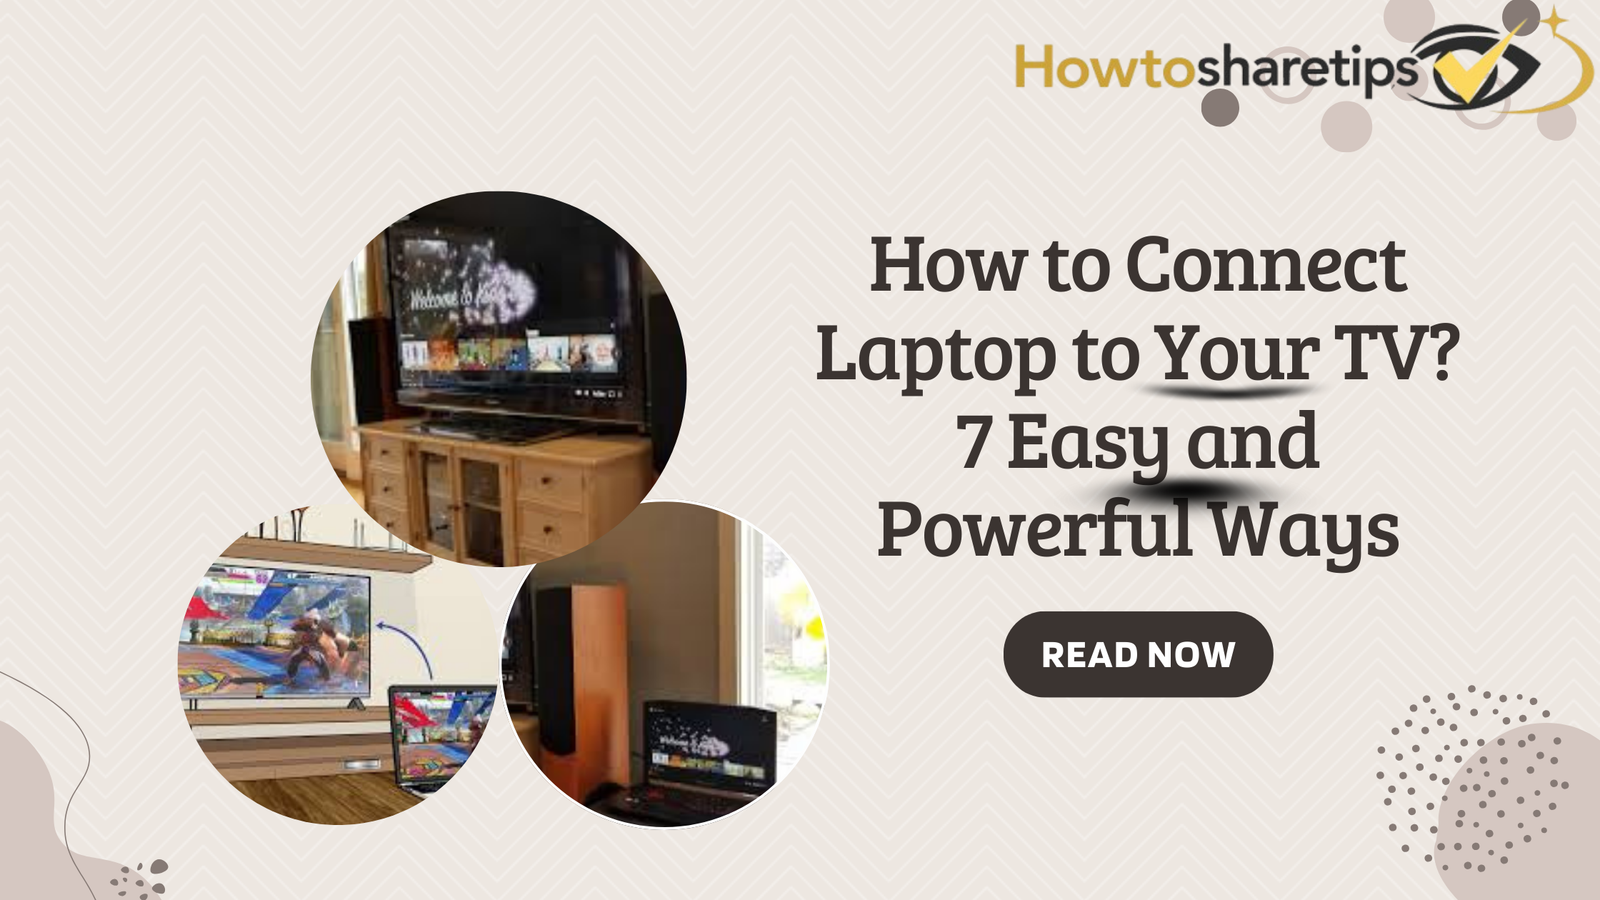
Connecting your laptop to your TV can significantly enhance your viewing experience, whether for movies, gaming, presentations, or productivity tasks. By linking your devices, you can enjoy a larger display, better sound, and flexible workspace options. This guide covers everything you need to know, from connection types to troubleshooting and optimizing your setup.
Key Takeaways
- Understanding video connection types such as HDMI and USB-C is essential for a seamless laptop-to-TV setup.
- You can mirror or extend your laptop’s display depending on whether your goal is entertainment or productivity.
- Wireless options like Miracast allow cable-free connections on compatible devices.
- Troubleshooting common issues, including screen resolution mismatches and audio output problems, ensures smooth operation.
- Optimizing your setup with the right cables, adapters, and display settings enhances your viewing experience.
Understanding Laptop and TV Connections
Types of Video Connections
Choosing the right video connection is crucial for a smooth, high-quality display. Most modern laptops come equipped with USB-C ports, which support video output when paired with the appropriate adapter or docking station.
For laptops with a dedicated HDMI port, connecting to a TV is straightforward: simply use an HDMI cable for a reliable and high-definition video signal. If your laptop lacks an HDMI port, adapters can convert USB-C, VGA, or mini-DisplayPort outputs to HDMI or other compatible formats.
Older laptops or unique setups may require adapters to match TV inputs. Always check both your laptop and TV ports before purchasing cables or adapters to ensure compatibility and optimal video quality.
Mirroring vs. Extending Your Display
When linking your laptop to your TV, you can either mirror or extend the display. Mirroring duplicates your laptop screen onto the TV, which is useful for presentations or sharing content with a group. Extending the display allows the TV to act as an additional monitor, increasing workspace and enabling multitasking with different applications on each screen.
To set up these options, access display settings based on your operating system. Windows users can choose duplicate or extend from the Display settings. On macOS, the Control Centre allows screen mirroring or using the TV as a separate display. Chromebook users can find these options under Device settings.
Mirroring is simple, but extending the display may require adjusting resolution and orientation for the second screen. Always ensure your devices are compatible and correctly configured for your desired setup.
Compatibility and Requirements
Before connecting your laptop to a TV, it is essential to ensure compatibility between the devices. Check that your laptop’s ports match the input options on the TV to enable a seamless connection. Laptops with multiple ports, such as the Dell Latitude series, typically offer straightforward connectivity. Ultraportable laptops with limited ports, such as a single USB-C, may require additional adapters or docking stations.
Basic connectivity considerations include:
- Laptops with HDMI, DisplayPort, or VGA ports can connect directly to most TVs.
- Ultralight laptops with minimal ports often require a USB-C hub or adapter to connect to TV inputs.
- Verify the TV’s supported resolutions to ensure your laptop can output a compatible signal.
- For wireless connections, ensure network settings such as ‘Available everywhere’ or ‘Available on secure networks’ allow projection from your laptop.
Step-by-Step Guide to Connecting Your Laptop to Your TV
Using an HDMI Cable
Connecting a laptop to a TV using an HDMI cable is simple and provides a high-quality video signal. Before starting, confirm that your laptop has an HDMI port. Some laptops may use a standard HDMI port, while others require a mini-HDMI or MiniDisplay port. If your laptop lacks HDMI, you will need an adapter for USB-C or another available port.
Follow these steps:
- Insert one end of the HDMI cable into your laptop. If using an adapter, connect the cable to the adapter first, then plug the adapter into the laptop.
- Connect the other end of the HDMI cable to an available HDMI port on your TV. Ports are usually labeled or numbered.
- Turn on your laptop and TV.
- Set your TV to the corresponding HDMI input to display your laptop screen.
Choose an HDMI cable of adequate length to maintain a tidy setup. Note the HDMI port number for easy identification and check your TV’s manual for any required input settings.
Wireless Connection Options
Wireless connections provide flexibility by allowing you to stream content without cables. Both your laptop and TV must support wireless display technologies. Common options include Miracast for Windows devices and AirPlay for Apple products.
Steps to connect wirelessly:
- Ensure both devices are on the same Wi-Fi network.
- Open display settings on your laptop and select ‘Detect’ to find the TV.
- Activate ‘Wireless Display’ if prompted, adding it as an optional feature if necessary.
- Follow on-screen instructions to complete the connection.
Device-specific instructions may vary, so refer to your device manual for precise guidance. If the projection settings are grayed out, verify that wireless display features are enabled.
Using Adapters for Non-HDMI Connections
If your laptop lacks an HDMI port, an adapter is necessary. Adapters convert VGA, DVI, mini-DisplayPort, or USB-C outputs to HDMI, allowing you to connect to your TV. Common adapter types include VGA to HDMI, DVI to HDMI, and USB-C Digital AV Multiport Adapters. Some adapters may require installing drivers or software for proper functionality.
Steps to use an adapter:
- Identify the video output port on your laptop.
- Purchase the appropriate adapter to convert the laptop’s output to HDMI.
- Connect the adapter to your laptop and attach the HDMI cable to the adapter.
- Plug the other end of the HDMI cable into your TV.
- Select the correct input source on your TV.
- Install any required drivers or software on your laptop if prompted.
Ensure the adapter supports your TV’s resolution and refresh rate to maintain video quality.
Troubleshooting Common Connection Issues
Connecting a laptop to a TV can occasionally lead to technical problems. Understanding how to troubleshoot these issues ensures a smooth experience for both work and entertainment.
Resolving Screen Resolution Problems
Screen resolution mismatches can affect picture quality when connecting a laptop to a TV. Ensure your laptop’s display settings match your TV’s supported resolution for optimal results. Most HDTVs support 1920 x 1080, while 4K TVs can handle up to 3840 x 2160. Adjust these settings in your laptop’s Display Settings menu.
If the image appears zoomed in or the aspect ratio is incorrect, modify your TV’s picture settings. Look for the aspect ratio option and select the setting that best fits your screen. Loose or faulty cable connections can also result in poor image quality or ‘no signal’ errors, so verify all connections are secure.
For wireless connections, check the distance and Wi-Fi signal strength. Slow or weak connections may reduce picture clarity. Adjusting the zoom and resolution settings on your laptop can help correct these issues.
Fixing Audio Output Issues
Audio problems can occur when your laptop is connected to a TV. Ensure the TV is set as the default playback device. On Windows, navigate to Control Panel > Sound > Playback tab. If your TV is not listed, right-click in the white space and select ‘Show Disabled Devices.’
Mac users should go to Apple Menu > System Settings > Sound and select the HDMI device. Disconnect any other audio devices from the headphone jack if necessary.
Windows also offers a built-in troubleshooter:
- Open Settings
- Navigate to System > Sound
- Click ‘More sound settings’
- Launch the troubleshooter
If audio continues playing from the laptop speakers, adjusting the playback device settings should resolve the issue.
What to Do When Devices Won’t Connect
If your laptop and TV fail to connect, start by checking all hardware connections. Loose or dirty cables are a common cause. Turn off both devices, disconnect, and reconnect each cable securely.
Additional steps include:
- Verify the TV is set to the correct input source.
- Restart both devices to refresh connections.
- Update your laptop’s video drivers to the latest version.
- Confirm that your TV supports the video format output by your laptop.
Sometimes, software settings are the cause. For example, Windows laptops may require adjusting HDMI audio output in the Sound settings. Basic checks, such as ensuring devices are powered on, often resolve most connection problems.
Enhancing Your Viewing Experience
Optimizing Display Settings
Adjusting display settings is key to achieving the best picture quality. Open your laptop’s Display settings and detect connected displays if the TV is not automatically recognized.
Set the resolution to match your TV’s capabilities:
- HDTV: 1920 x 1080
- 4K TV: up to 3840 x 2160
Consider aspect ratio and scaling options to fit the screen correctly. Proper resolution settings ensure clear text, sharp images, and a comfortable viewing experience.
Choosing the Right Cable for Quality
Selecting the correct cable improves both video and audio quality. HDMI cables are preferred for their ability to carry high-definition signals efficiently. Some laptops may require HDMI mini or MiniDisplay adapters.
Types of HDMI connections include:
- Standard HDMI
- HDMI Mini
- MiniDisplay Port
Ensure the cable is long enough to reach between your laptop and TV without clutter. For laptops with VGA or DVI outputs, use the appropriate adapter to connect to the TV’s HDMI input. Verifying cable and adapter compatibility prevents connectivity issues and maintains the quality of your display.
Additional Accessories for Improved Functionality
Enhancing your laptop-to-TV setup can significantly improve convenience, performance, and overall functionality. Accessories such as wireless keyboards and mice provide a clutter-free experience, while universal docking stations offer a central hub for connecting multiple peripherals. For laptops with USB-C ports, hubs and dongles are essential for expanding connectivity, allowing multiple devices to operate simultaneously.
When selecting accessories, compatibility with both your laptop and TV is critical to avoid connectivity issues. Common accessories that complement your setup include:
- Wireless keyboard and mouse
- Universal docking station
- External webcam and microphone
- Game controller
- External hard drive
- Network adapter
- DVD drive
- Card reader
The right combination of accessories transforms a simple connection into a versatile and integrated system, providing greater convenience for work, entertainment, and multitasking.
Other Ways to Connect
Connecting Without a USB-C Cable
If your laptop lacks a USB-C port, you can still connect using HDMI or Bluetooth. These alternatives may require an adapter to transmit video effectively. While adapters are helpful, they can occupy a USB port and may not provide the same performance as standard video cables.
Steps to connect without USB-C include:
- Verify if your laptop supports HDMI or Bluetooth connectivity.
- For HDMI, connect a cable between your laptop and the receiving device.
- For Bluetooth, ensure both devices are paired and compatible.
- Adjust display settings to mirror or extend your screen.
Selecting high-quality adapters and cables ensures a smooth connection and maintains optimal video and audio quality.
Projecting to a Laptop Wirelessly
Wireless projection allows you to share or extend your screen without cables. Ensure your laptop supports wireless display technology and is discoverable via the ‘Projection Settings’ menu. Options like ‘Available everywhere’ or ‘Secure networks only’ control device accessibility.
To project from another device:
- On a PC, select ‘Connect’ in the Notifications Center.
- On a smartphone, navigate to the ‘Cast’ or ‘Screen Mirroring’ option in settings.
- Select your laptop from the available devices list.
If the laptop does not appear, it may lack compatibility, such as an older graphics card or unsupported hardware. Troubleshooting can involve enabling wireless display features or updating graphics drivers.
Using a Laptop as a Second Display
A laptop can serve as a secondary monitor to expand your digital workspace. This is ideal for multitasking, editing, or monitoring multiple applications simultaneously.
For Windows users:
- Connect a USB-C or HDMI cable from the primary device to the secondary laptop.
- Open Display Settings on the primary device.
- Select ‘Extend these displays’ to enable additional screen space.
- Click ‘Keep changes’ to confirm the configuration.
Windows 11 users may need to add ‘Optional features’ via Settings > Apps to enable the laptop as a second display. Ensuring compatibility and proper connection methods is essential for a seamless setup.
Conclusion
Connecting your laptop to a TV enhances both entertainment and productivity experiences. Whether you want to stream movies, share presentations, or increase workspace, understanding the types of video connections, wireless options, and accessories is essential.
Check for compatibility with your laptop and TV, utilize HDMI or USB-C connections, consider adapters when needed, and explore wireless solutions like Miracast or AirPlay. With proper setup and configuration, you can mirror or extend your laptop display effortlessly, creating a versatile and high-performing viewing environment.
Frequently Asked Questions
Can I connect my laptop to a TV without a USB-C to USB-C cable?
Yes, you can connect your laptop to a TV using an HDMI cable or a wireless method such as Miracast or Bluetooth. If your laptop only has a USB-C port, you may require a USB-C to HDMI adapter or docking station to establish a proper connection.
How can I mirror my laptop’s display on my TV?
To mirror your laptop screen, use an HDMI cable or a wireless option if both devices support Miracast. On Windows, press Win + P to access display settings and select ‘Duplicate’ to mirror the screen. Mac users can use AirPlay to mirror their display to an Apple TV or compatible smart TV.
Is it possible to use my TV as a second display for my laptop?
Yes, you can use your TV as a secondary monitor. Connect your laptop to the TV and select ‘Extend’ in your display settings. This expands your workspace, allowing you to use different applications on each screen for improved productivity.
What should I do if my laptop and TV won’t connect?
If your devices fail to connect, first ensure your TV is set to the correct input source and that all cables are securely connected. Check your laptop’s display settings, and update your graphics drivers if necessary. Restarting both devices often resolves common connection issues.
How can I optimize my laptop and TV display settings for the best viewing experience?
Adjust your screen resolution to match your TV’s native resolution for the sharpest image. Set scaling, color settings, and refresh rates appropriately to enhance picture quality and ensure smooth performance. This optimization is essential for both mirrored and extended displays.
Can I use a USB-to-HDMI adapter if my laptop doesn’t have an HDMI port?
Yes, a USB-to-HDMI adapter allows laptops without an HDMI port to connect to a TV. Make sure to install any required drivers or software for the adapter. This method ensures you can still achieve high-quality video output even on devices with limited ports.